Editing keyframes on Plask is easy. Watch this tutorial video to learn how.
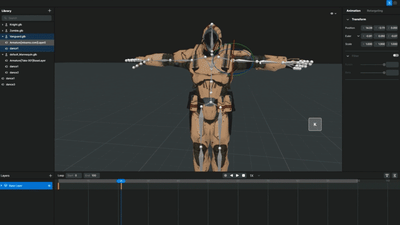
Let’s check out the keyframe editor. It’s on the bottom side of the tool.
You can go to the edge of the window to adjust the height of the window.
On the keyframe window, you can scroll up and down to change the density of the frames.
To view different frames, hold down the alt button and the left mouse button to move left and right.
Now let’s move onto the keyframe section.
You can insert a keyframe wherever you want to edit the preexisting motion for each frame. All you have to do is:
- Click on a joint within a frame
- Move the joints accordingly
- Insert the keyframe with right click, insert keyframes OR by using the shortcut which is the K button
As you can see in the video, I am moving the arm, I added a keyframe here, I selected a joint and moved the arm up then added a keyframe. So there are five keyframes in total and they move accordingly.
So I reset the whole thing.
You can move the keyframes wherever you want or even delete a keyframe by right clicking and clicking on “delete keyframe.”
Or if you want, you can select multiple keyframes to delete by pressing the delete button.
Let’s say you have an entire motion imported like you see here. There are a whole bunch of frames. You can add a layer by clicking on the plus button on the bottom left.
Within each layer, you can adjust whatever you want by:
- Selecting a joint
- Pausing at a specific frame
- Moving the joint accordingly
- Adding a keyframe then going back to the keyframe editor